8 Important Steps in Chain Link Fence Installation

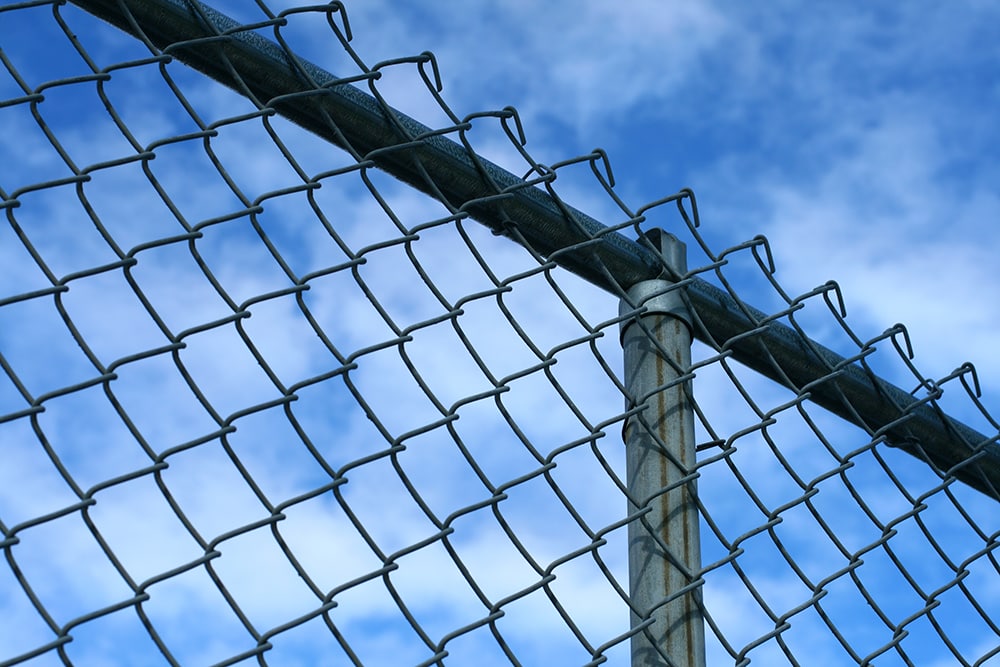
A chain-link fencing system is one of the most common fencing options alongside vinyl, wood, and aluminum, wrought iron fences Austin, whether we are talking about commercial or residential fences. Most user reviews accentuate a couple of advantages of chain link fence installation, including transparency, moderate pricing, swift installation, durability, wide range of styles, security, protection, etc.

Chain Link Fence

Advantages of chain link fencing

Transparency

The structure of chain fences provides transparency allowing sunlight to be present, which is essential when it comes to larger areas in contrast to aluminum, wood, or vinyl.

Moderate Pricing

Chain link fences are relatively affordable compared to the materials mentioned above.

Wide Range of Styles

Fortunately, chain link fences come in various sizes and styles depending on your preferences.

Security and Protection

Added security and protection is one of the main perks since chain link fences surely stop any quick and easy, unauthorized property breach.

Swift and Quick Installation

The time you need to spend installing the chain link fence depends on the knowledge you have on the subject. However, hiring a fence specialist will ease the process and make it very quick.

Chain Link Fence Installation Guide

However, if you by any chance decide to install the chain link fence by yourself, make sure you understand the following steps:

1. Prepare and Check

We advise checking the local building codes and guidelines for choosing the suitable styles, sizes, and location. Inform yourself on whether or not the permit is necessary. Talk with your neighbors about fencing and mark your property’s lines since some towns and neighborhoods require a plan for gaining the building permit. You can use graph paper to draw a plan for the fence.

Do not forget to calculate precisely how much material you need.

2. Mark the Location

Ensure you mark the exact spot where you plan to locate the corner, gate, and end posts with spray paint. Also, make sure to measure the total length between the end posts.

3. Mark and Install

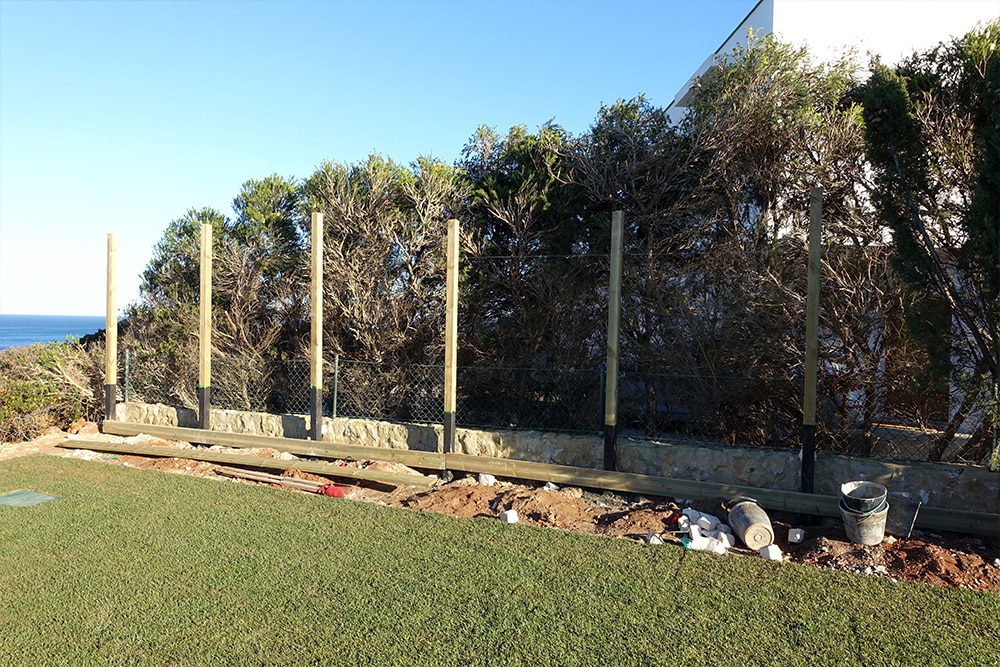
a) Marking and installing the end posts includes a couple of steps:

  • Please, use a spade to dig a hole for each corner, both custom iron gates end and post location. Keep in mind that the gaps should be about three times wider than the actual post. It is advised that the hole’s depth should be 1/3 of the post’s length.
  • The next step includes filling up the holes using two options: If you are dealing with concrete, fill up the gaps with four inches of gravel while pressuring it down. Then, add six inches of concrete on top. Make sure to put the posts in already wet concrete. Let it rest for twenty-four hours and allow it to set. Finally, fill up the remaining space in the hole with dirt. If you want to avoid using concrete, put the post in the center of the hole. Fill up space around the post with stones to hold and pack up the remaining space with dirt.

We recommend using a level to keep the pole secure and in place.

b) Mark and install the intermediate post

  • Tie a tight string between the posts. These intermediate posts’ height should be the chain-link fence’s actual height, plus around two inches making a small gap at the fence’s bottom. It is now vital to mark the three-meter gaps on the corner, entrance, and terminal posts, simultaneously marking the intermediate posts’ location.
  • Again, dig a hole for the central post locations. Ensure that the holes should be about three times wider than the post and that the depth of the actual hole should be around 1/3 of the post’s length.
  • Fill the holes following the steps mentioned above depending on whether or not you want to use concrete and use a level.
Post Installation

4. Add Tension Bands and Caps

Adding tension bands and caps to the posts should be done so that the flat side points out to the outside of the fence. Having corner posts requires two tension bands pointing to every side. Make sure to add one fewer bands than the actual height of the fence, in feet. Add caps to all of the posts. Make it tight but leave a little bit of space because of the possible adjustments.

5. Installing the Top Rail

You will need to push the top rails through loops in the caps. Make sure that the poles attach by pushing opposite ends together. Some poles might be too long-cut with a saw. Fast all nuts and bolts.

6. Hang the Chain Link

Hanging the chain link mesh is relatively simple. Start at one of the end posts. Then, start to unroll the chain link mesh along the whole length of the fence. Darn the tension bar through the end of the web roll nearest to the end post. Do not forget to attach the tension bar properly to the base tension band and then tighten the bolts. Also, it is recommended that the mesh is about two inches off the ground.

Pull the mesh roll tight alongside the fence, therefore, removing any slack. Keep in mind you are removing slack; hence it is not the permanent tightening of the fence.

7. Stretching the Mesh

Weave a temporary tension bar at about three feet from the end post and attach a stretching bar to the tension bar. The next step is to attach a fence puller to the stretch bar to the end post. Lever the tool to tighten the mesh.

How to check if the mesh is tight enough?

The answer is when there is about two to four cm free for you to squeeze with your hand in the tension area.

While you tighten the mesh, there will most likely be excess mesh you would want to remove.

8. Hire Professional Help

Now, it is fair to say that the chain-link fence installation process is not that simple. If you aren’t sure of your own ability to do it properly or can’t find an extra hand, consider hiring professional help as long as you hire a trusted firm to take care of the job.